Environment Setup
프론트엔드 환경 설정 가이드
맥 OS 시스템 설정
# 스크린샷 형식을 png 대신 jpg로 변경 (보통 용량이 더 작음)
defaults write com.apple.screencapture type jpg

# 새 파일을 열 때 이전에 미리보기한 파일(예: PDF)들을 다시 열지 않음
defaults write com.apple.Preview ApplePersistenceIgnoreState YES

# 라이브러리 폴더 표시
chflags nohidden ~/Library

# 숨김 파일 표시
defaults write com.apple.finder AppleShowAllFiles YES

# 경로 바 표시
defaults write com.apple.finder ShowPathbar -bool true

# 상태 바 표시
defaults write com.apple.finder ShowStatusBar -bool true

killall Finder;
Homebrew 설치

macOS용 패키지 관리자인 Homebrew을 설치합니다:
/bin/bash -c "$(curl -fsSL https://raw.githubusercontent.com/Homebrew/install/HEAD/install.sh)"Homebrew의 모든 항목을 최신 버전으로 업데이트합니다:
brew update폰트 설치 저장소 등록
brew tap homebrew/cask-fonts권장 GUI 애플리케이션 설치
brew install --cask \
  raycast \
  bitwarden \
  google-chrome \
  microsoft-edge \
  firefox \
  iterm2 \
  visual-studio-code \
  cursor \
  antigravity \
  chatgpt \
  docker \
  rectangle \
  slack \
  discord \
  figma \
  imageoptim \
  maccy \
  protonvpn \
  zoom \
  ngrok \
  keycastr \
  font-fira-code
권장 터미널 어플리케이션
brew install \
  wget \
  exa \
  git \
  nvm \
  yarn \
  pnpm \
  graphicsmagick \
  commitizen \
  cmatrix \
  defaultbrowser \
  gh \
  vips
defaultbrowser 설정
defaultbrowser chromeIterm2 설정
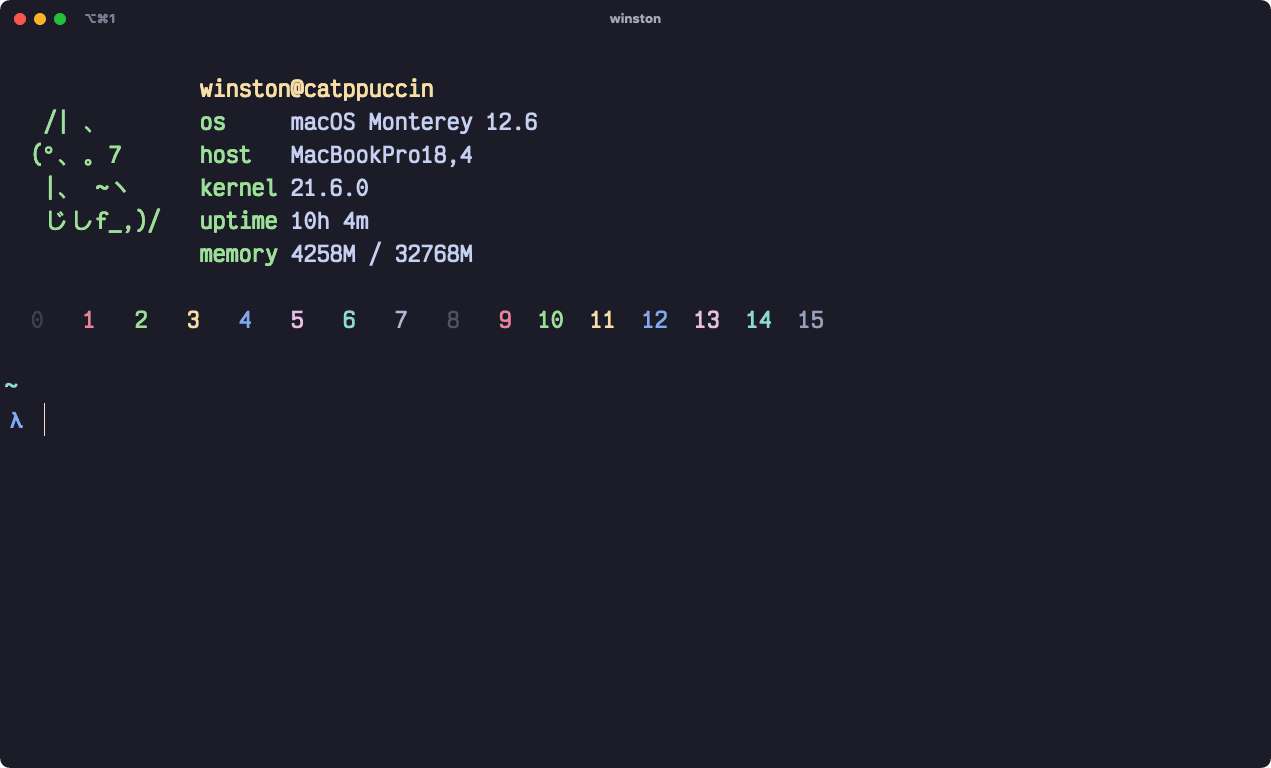
테마 설정
catppuccin 테마 다운로드
curl -L -o ~/Downloads/catppuccin-mocha.itermcolors https://raw.githubusercontent.com/catppuccin/iterm/refs/heads/main/colors/catppuccin-mocha.itermcolors- iTerm을 실행하고 설정(⌘ (Cmd)+,)을 엽니다.
- Profiles 탭을 선택하고 편집할 프로필을 선택합니다.
- Colors 섹션 > Color Preset > Import로 이동합니다.
- 1단계에서 다운로드한 파일을 선택합니다. (Downloads/catppuccin-mocha.itermcolors)
폰트 설정
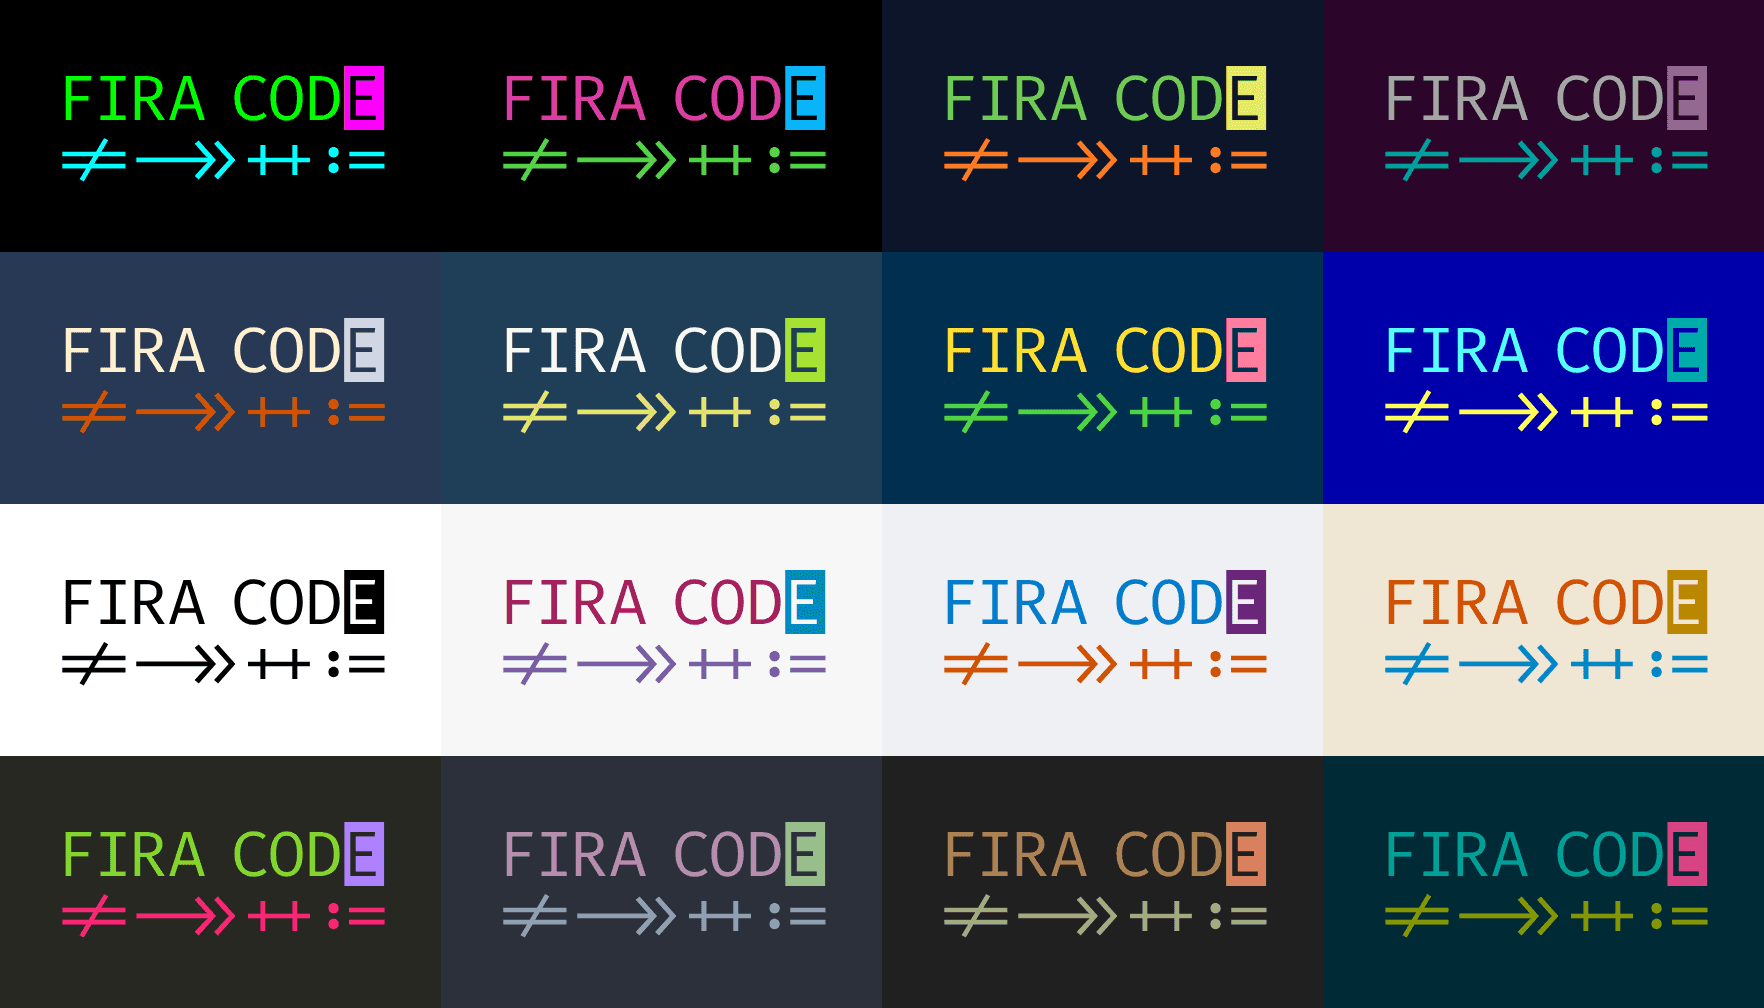
- iTerm을 실행하고 설정(
⌘ (Cmd)+,)을 엽니다. - Profiles 탭을 선택하고 편집할 프로필을 선택합니다.
- Text 섹션 > Font로 이동합니다.
- Font를
Fira Code로 설정합니다.
세션 디렉토리 설정
- iTerm을 실행하고 설정(
⌘ (Cmd)+,)을 엽니다. - General 섹션 > initial directory > Reuse previous session directory 로 설정
Oh My Zsh
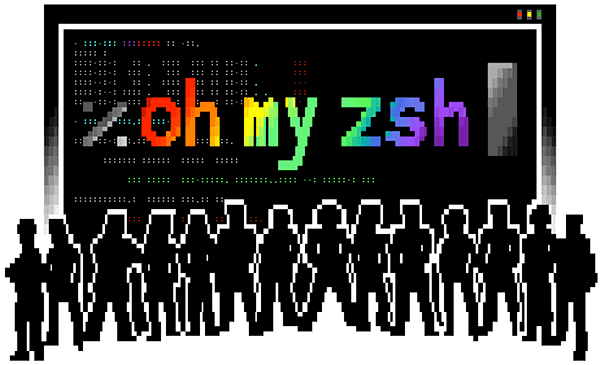
macOS 기본 셸인 zsh에 Oh My Zsh를 적용하여 플러그인과 테마 기반의 향상된 터미널 환경을 구성합니다.
sh -c "$(curl -fsSL https://raw.githubusercontent.com/ohmyzsh/ohmyzsh/master/tools/install.sh)"Oh My Zsh의 모든 구성 요소(예: 플러그인)를 최신 버전으로 업데이트합니다:
omz update중요: Zsh 설정 파일(.zshrc)을 변경한 경우, 변경 사항을 적용하려면 강제로 다시 로드해야 합니다(무언가 설정할때마다 터미널 다시 키거나 아래 명령어):
source ~/.zshrcOh My Zsh Theme
새로운 터미널 테마로 Starship을 설치합니다.
brew install starship터미널에서 다음 명령어를 입력하여 Oh My ZSH의 기본 테마로 설정합니다:
echo 'eval "$(starship init zsh)"' >> ~/.zshrcOh My Zsh 플러그인
ZSH 설정 파일 (.zshrc):
# Path to your oh-my-zsh installation.
export ZSH="$HOME/.oh-my-zsh"

# Which plugins would you like to load?
# Standard plugins can be found in $ZSH/plugins/
# Custom plugins may be added to $ZSH_CUSTOM/plugins/
# Example format: plugins=(rails git textmate ruby lighthouse)
# Add wisely, as too many plugins slow down shell startup.
plugins=(
  git
  zsh-completions
  zsh-autosuggestions
  zsh-syntax-highlighting
)

# get machine's ip address
alias ip="ipconfig getifaddr en0"

# edit global zsh configuration
alias zshconfig="vim ~/.zshrc"
# reload zsh configuration
alias zshsource="source ~/.zshrc"
# reload zsh configuration
alias ohmyzsh="cd ~/.oh-my-zsh"

# navigate to global ssh directory
alias sshhome="cd ~/.ssh"
# edit global ssh configuration
alias sshconfig="vim ~/.ssh/config"

# edit global git configuration
alias gitconfig="vim ~/.gitconfig"

# git aliases
alias gits="git status"
alias gitd="git diff"
alias gitl="git lg"
alias gita="git add ."
alias gitc="cz commit"

alias loc="npx sloc --format cli-table --format-option head --exclude 'build|\.svg$\.xml' ./"

# load zsh-completions
autoload -U compinit && compinit

# use nvm
source /opt/homebrew/opt/nvm/nvm.sh

# use starship theme (needs to be at the end)
eval "$(starship init zsh)"
Git
터미널에서 git 이름, 이메일 설정
git config --global user.name "Your Name"
git config --global user.email "you@your-domain.com"
git log 개선
git config --global alias.lg "log --color --graph --pretty=format:'%Cred%h%Creset -%C(yellow)%d%Creset %s %Cgreen(%cr) %C(bold blue)<%an>%Creset' --abbrev-commit"아래처럼 이용
git lg기본 git branch master에서 main으로 변경
git config --global init.defaultBranch mainSSH
-
터미널 열기
-
SSH 키 생성 GitHub 이메일 주소를 사용하여 새로운 SSH 키를 생성합니다.
ssh-keygen -t ed25519 -C "your_email@example.com""Enter a file in which to save the key" 메시지가 나오면 Enter를 눌러 기본 위치를 사용합니다. "Enter passphrase" 메시지가 나오면 안전한 비밀번호를 입력합니다.
-
백그라운드에서 ssh-agent 실행
eval "$(ssh-agent -s)" -
~/.ssh/config파일 설정 SSH 키를 에이전트에 자동으로 로드하고 키체인에 암호를 저장하도록 설정합니다.파일이 없으면 생성합니다:
touch ~/.ssh/config~/.ssh/config파일을 열어 다음 내용을 수정/추가합니다:Host * AddKeysToAgent yes UseKeychain yes IdentityFile ~/.ssh/id_ed25519 -
SSH 키를 ssh-agent에 추가 키를 키체인에 저장합니다.
ssh-add --apple-use-keychain ~/.ssh/id_ed25519 -
GitHub 계정에 SSH 키 추가 GitHub CLI를 사용하여 SSH 키를 계정에 추가합니다.
# GitHub CLI 로그인 (이미 되어있다면 생략 가능)
gh auth login

# SSH 키 업로드 (title 자유롭게 변경)
gh ssh-key add ~/.ssh/id_ed25519.pub --title "Mildang Company Mac"
NVM for Node/npm
Node Version Manager(NVM)는 여러 노드 버전을 설치하고 관리하는 도구입니다. 이전 단계에서 Homebrew를 통해 설치했다면, 다음 명령어를 입력하여 설정을 완료하세요:
# NVM 설정을 .zshrc에 추가
echo "source $(brew --prefix nvm)/nvm.sh" >> ~/.zshrc

# 설정 적용
source ~/.zshrc
최신 LTS 버전을 설치합니다:
nvm install --lts.nvmrc 자동 인식 설정
프로젝트 디렉토리 이동 시 .nvmrc 파일이 있다면 자동으로 해당 노드 버전을 사용하도록 설정합니다. ~/.zshrc 파일 하단에 다음 스크립트를 추가하세요:
# zsh-hook 로드
autoload -U add-zsh-hook

load-nvmrc() {
  local node_version="$(nvm version)"
  local nvmrc_path="$(nvm_find_nvmrc)"

  if [ -n "$nvmrc_path" ]; then
    local nvmrc_node_version=$(nvm version "$(cat "${nvmrc_path}")")

    if [ "$nvmrc_node_version" = "N/A" ]; then
      nvm install
    elif [ "$nvmrc_node_version" != "$node_version" ]; then
      nvm use
    fi
  elif [ "$node_version" != "$(nvm version default)" ]; then
    # echo "Reverting to nvm default version"
    nvm use default
  fi
}

add-zsh-hook chpwd load-nvmrc
load-nvmrc
Turbo
모노레포 관리를 위해 Turbo를 글로벌로 설치합니다.
npm install -g turbo초기 저장소 세팅
-
저장소 클론 및 디렉터리 이동
git clone git@github.com:mildang/mildang-frontend.git cd mildang-frontend -
의존성 설치
pnpm install -
스키마 기반 코드 생성
pnpm codegen:root